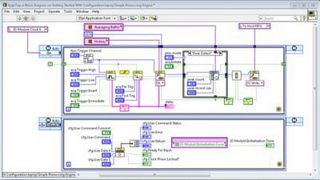
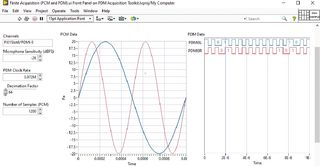
Unlike traditional text-based languages, LabVIEW employs dataflow programming, where the movement of data between nodes determines execution order. Programs in LabVIEW are called Virtual Instruments (VIs), which mimic the behavior of physical instruments by combining a user interface, data processing, and visualization.
The front panel in LabVIEW serves as the user interface, offering interactive controls and indicators, while the block diagram represents the program logic through graphical code, often resembling a flowchart. Together, these components enable engineers and scientists to design, simulate, and execute complex measurement, analysis, and control tasks with minimal effort. With its extensive analysis functions, hardware drivers, and protocol support, LabVIEW is widely used for data acquisition, automated testing, instrument control, and system design. Advanced features, such as FPGA integration and support for real-time systems, make it a versatile platform for applications ranging from electronic design validation to industrial automation.
Here is the summary of steps connecting Raspberry Pi-5 with LabView and executing a simple “Hello World” project
Part 1: Prepare the Raspberry Pi 5 board with OS (Debian Bookworm) on SD card
-
Insert your SD card, open Raspberry Pi Imager, select the 32-bit OS from the list, as the LabView community edition supports only 32-bit.